Now before we begin with the details of the shoot, I would like to start by talking about CONCEPTS. Concepts help make your figurine photography better, regardless whether it’s a plain portraiture or a scene. A figurine photo without concept would be like the product photos you see on the box cover, or those random photos of “Hey I bought this figure!”.
When concept comes into play, you start to think of what background or lighting, or even what other elements you are able to incorporate into the scene. Put it simple, a concept will lead you to a theme and subsequently a photo that could tell a story or invoke feelings.
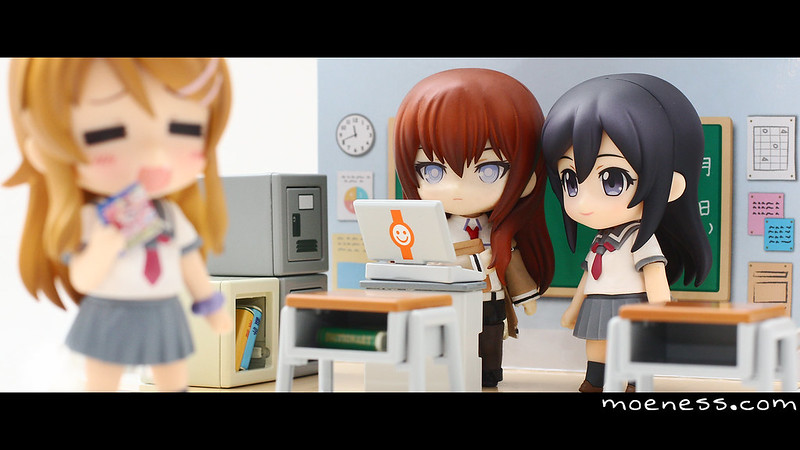
In this photo, my concept is about having fun at school and in this photo I used the following to create the theme.
– Nendoroid 130 Makise Kurisu (牧瀬 紅莉栖)
– Nendoroid 206 Aragaki Ayase (新垣 あやせ)
– Nendoroid 142 Kousaka Kirino (高坂 桐乃)
– Nendoroid More: CUBE 01 Classroom Set (refer to the image below)
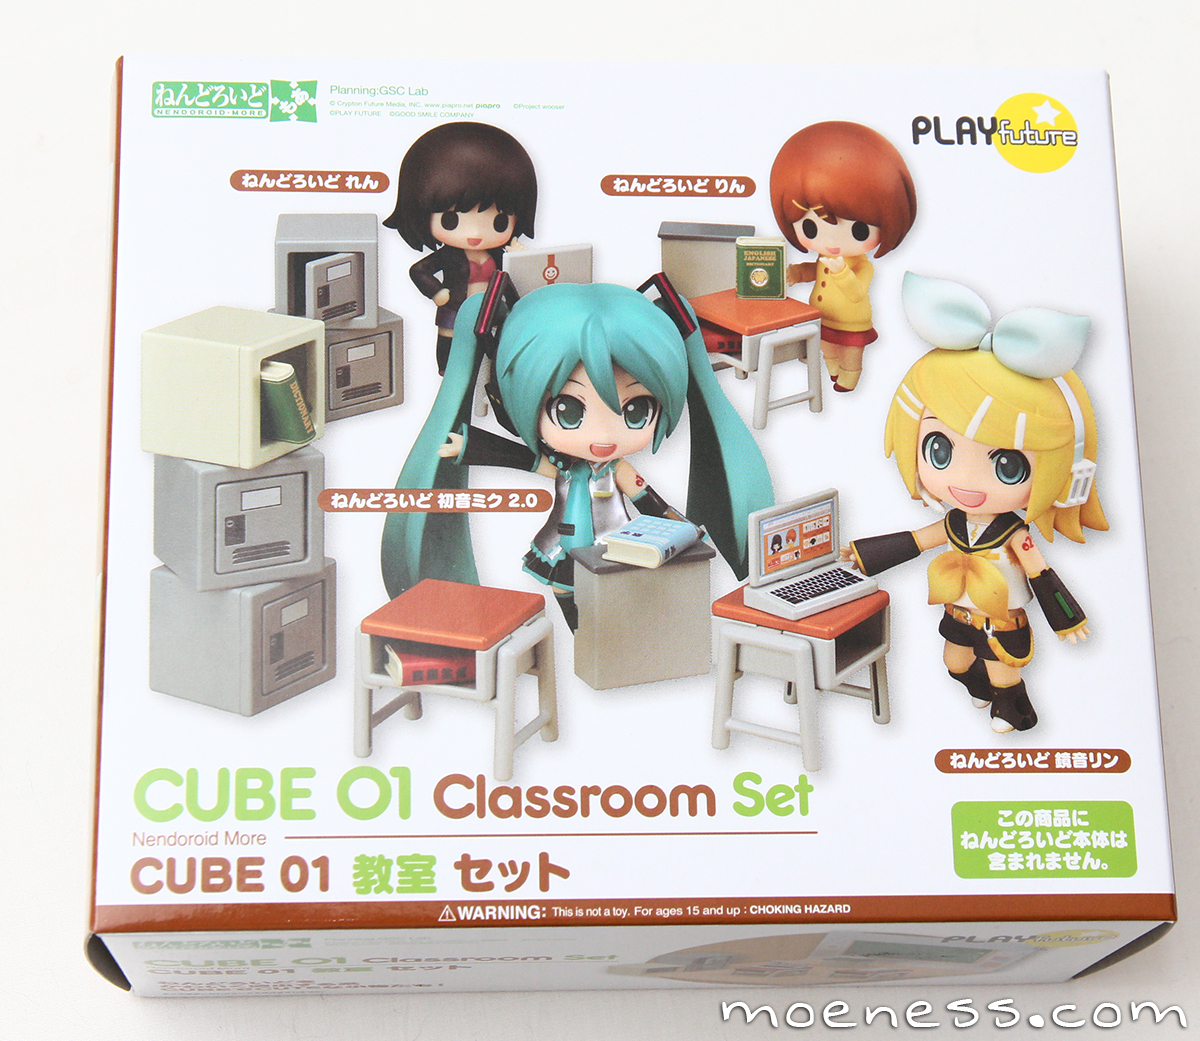
After unboxing the content, I spent a little bit of time (like 30 – 40 minutes!) to examine what’s available and position all the items to create my scene. It is best if you could understand elements in photography like composition, field of view, depth of field and so on to help you create what you want.
Now here’s where my imagination switched to high-gear. For this scene I’m piecing together the elements from the anime Stein’s Gate and the anime Ore No Imouto into a single scene, in which Aragaki Ayase (cute black hair girl) was amazed by Whiz-kid Makise Kurisu’s work as she shows them through the notebook computer. Kousaka Kirino who is Ayase’s best buddy on the other hand, is at the back of the class being very anxious to view the latest DVD of her favorite anime.
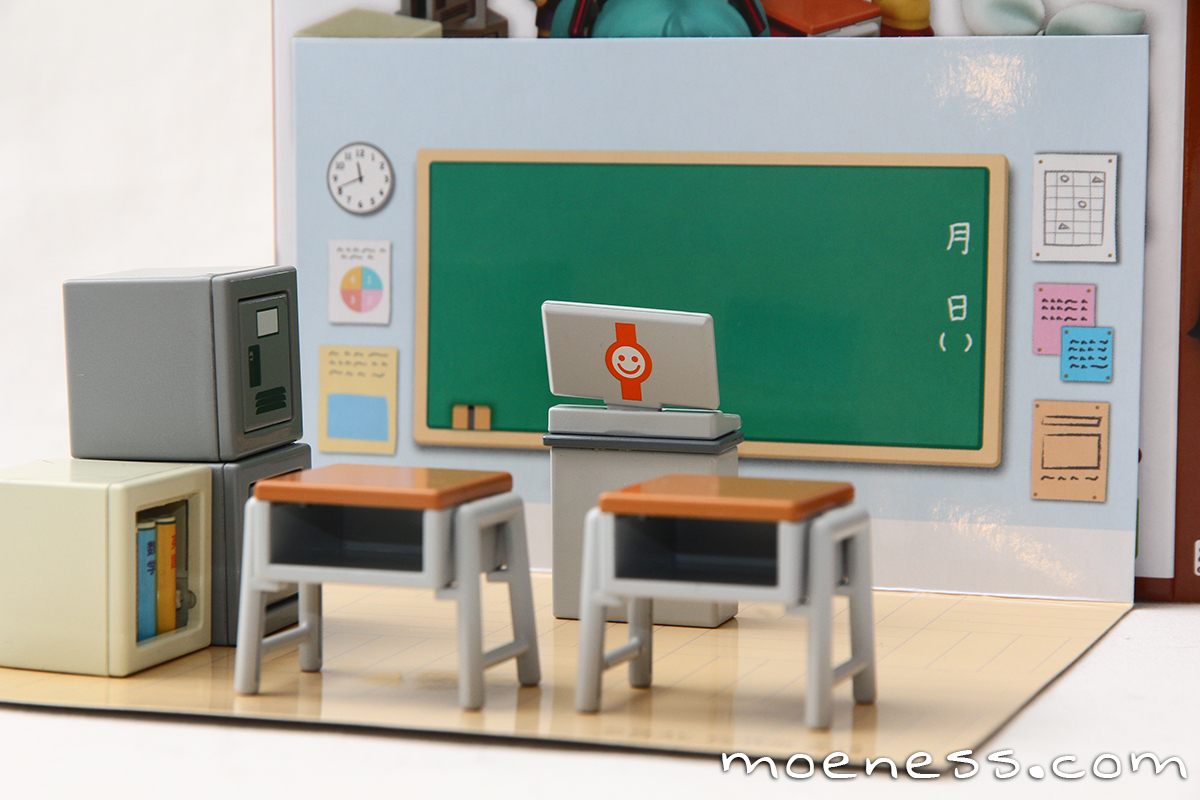
The CUBE 01 set looks great without any figures around but as you know, Nendoroids occupy quite some place and they do look quite big and will certainly push the teacher’s table much further from the wall than what you would expect but don’t worry, the way we see it can be quite different from the way it appears through the lens.
In the image below you’ll see how I used the stand provided to support the figures. Try your best to angle the support in an angle where the Nendoroid itself or the surrounding elements blocks it from view, it will make the image look better. Feel free to post-process them away if you need, I didn’t have to do that with mine once I set it right. You should aim for that.
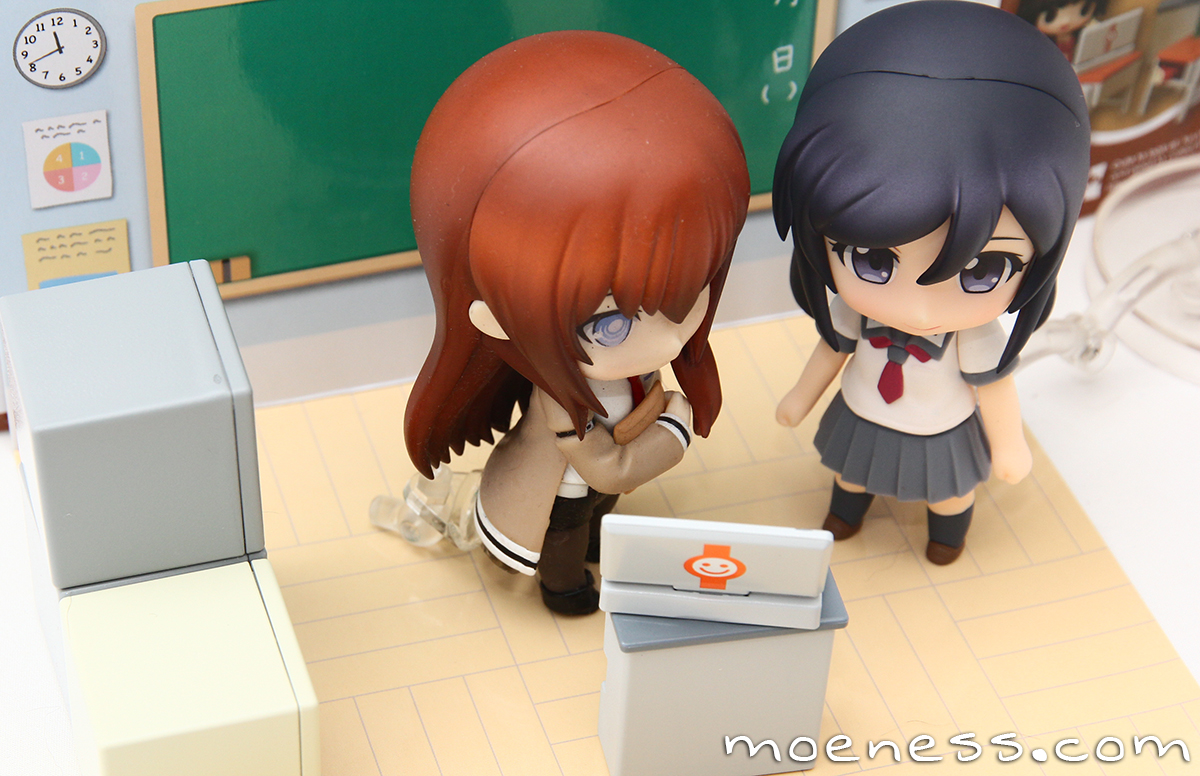
Here’s a view from the top. I experimented with many angles, placement of furniture and also the placement and angle of the figures. You can imagine the amount of work involved. I photographed them handheld. If you have a tripod, that will help when it comes to maintaining the frame.

Lastly, here’s the view of the overall setup. I used a single flash unit that’s triggered by my Canon EOS 60D. The flash is fired to the wall, ceiling and white background to cast light on the setup. There’s a white cardboard on the right that reflects light, adding a little brightness to the scene.
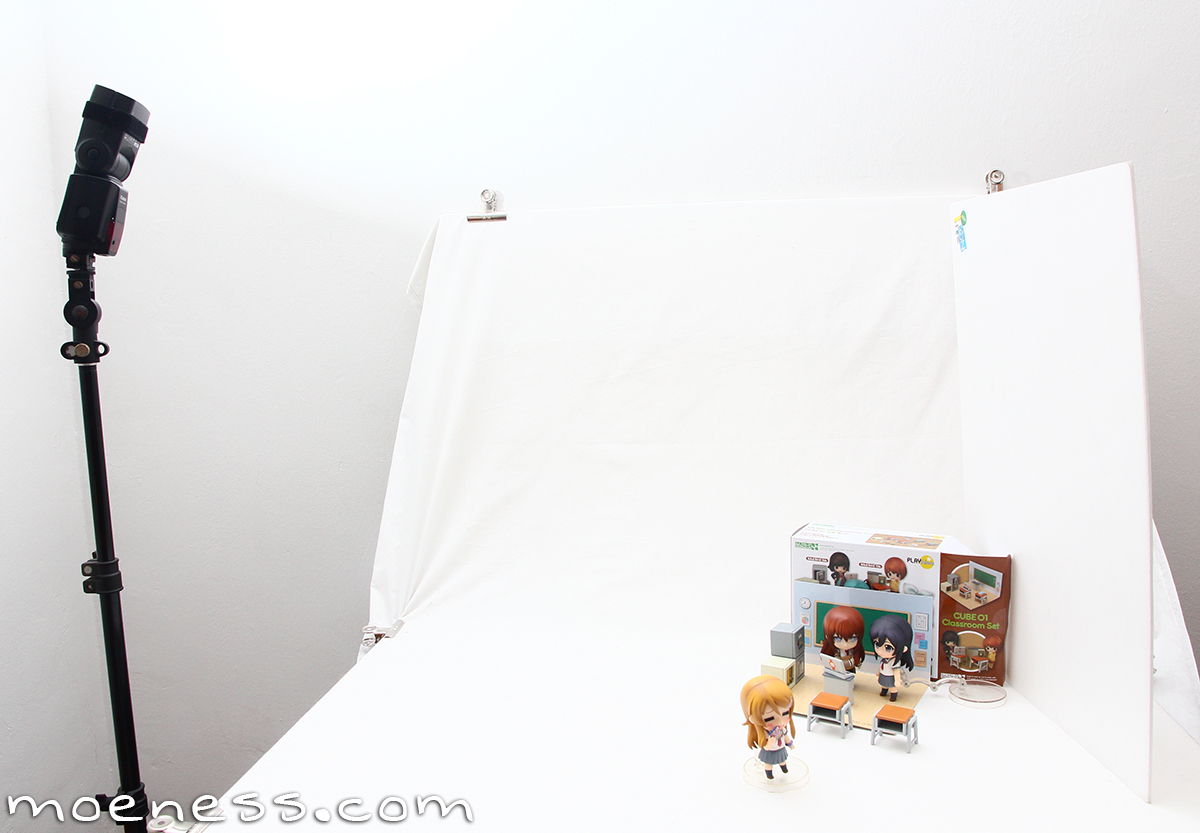
As for the final touch-up, I used dodge and burn technique to brighten just a few areas, and I used clone-tool to clear the dust off my Makise Kurisu figure, an aged figure and has been collecting quite a bit dust that’s unfortunately not noticeable through the naked eye but very apparent when on image. 🙁
*Remember, you may click the image to view the larger version of it on Flickr!
Another thing I wish to highlight is regarding details. In the image above, I tried to keep as much details into the frame as possible, from the books in the cabinet, to the desk with a book inside, to even he background. All these little details add to the liveliness of the final output.
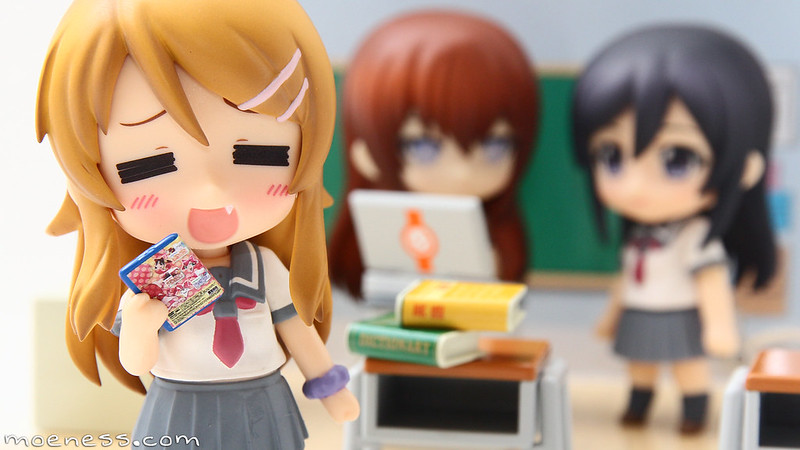
With this setup, I got myself a bonus picture too! This time it’s with Kirino as the lead. 😀 Same concept, different focus.
I hope you enjoyed this guide.